Microsoft Teams, now provides Audio Conferencing and Phone System with Calling Plans capabilities to meet additional business requirements by extending the Teams meeting and calling experience to include external parties connected via the Public Switched Telephone Network (PSTN).
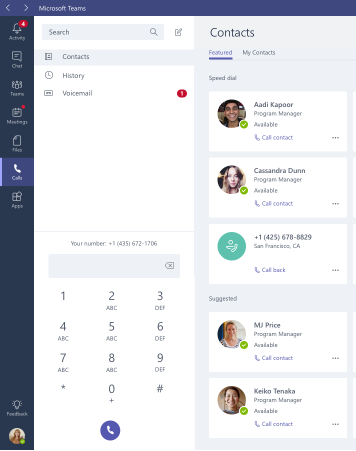
The new calling capabilities providing call history, hold/resume, speed dial, transfer, forwarding, caller ID masking, extension dialing, multi-call handling, simultaneous ringing, voicemail, and text telephone (TTY) support.

Audio Conferencing
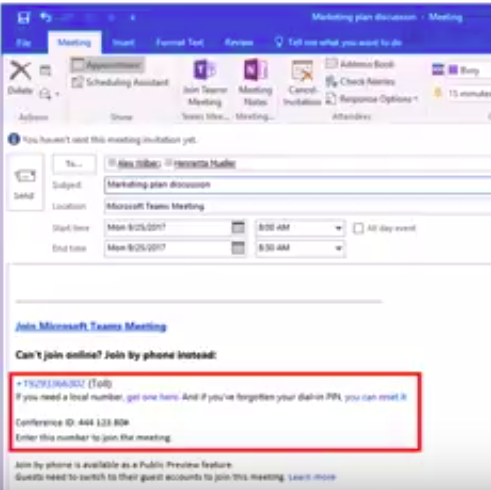
Audio Conferencing in Office 365 allows participants to join your Teams meetings from any telephone.
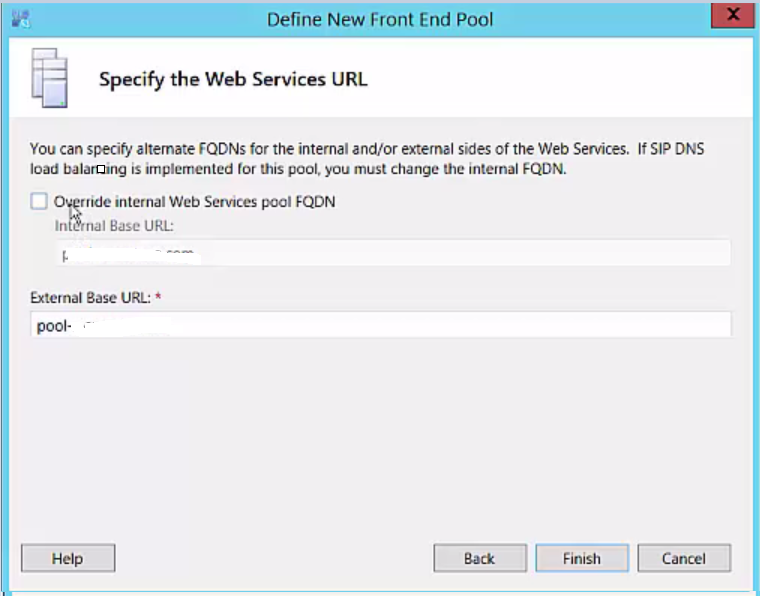
Licensing for Audio Conferencing
Audio Conferencing license is available as part of Office 365 E5 subscription plans, or as an add-on to Office 365 E1 or Office 365 E3 subscription plans.
Note -If you already use Skype for Business Online PSTN Conferencing today, you can immediately take advantage of Audio Conferencing in Teams.
To schedule meeting using outlook you can use the Teams meetings addin for outlook
More details: Set up Audio Conferencing for Skype for Business and Microsoft Teams
Calling Plans
Calling Plans is an Office 365 feature powered by Skype for Business
You can now use Teams to make and receive phone calls to or from land lines and mobile phones via PSTN
Note: Before you begin you need to Find out if Calling Plans is available in your country/region. Country and region availability for Audio Conferencing and Calling Plans
To enable the Calls tab in Teams and allow your users to make and receive PSTN calls,the first thing you need is Phone System (formerly Cloud PBX), which is included with Office 365 E5 and available as an add-on to other Office 365 plans. From there, you can subscribe to a Calling Plan (formerly known as PSTN Calling) for any number of users in your organization. you will need provision users for Phone System and Calling Plans. To learn how to set this up, read Set up Calling Plans.
How To enable Teams to begin receiving calls
To enable Teams to begin receiving calls, you’ll need to update Teams interop policy, using a remote Windows PowerShell session with the Skype for Business
*-CsTeamsInteropPolicycmdlets, to redirect calls to Teams. For more information about Teams interop policy, see Microsoft Teams and Skype for Business Interoperability.
How to configure Teams to use the default policy
Grant-CsTeamsInteropPolicy -PolicyName Global -Identity user@domain.com
How to configure Teams to receive PSTN calls
Grant-CsTeamsInteropPolicy -PolicyName tag:DisallowOverrideCallingTeamsChatTeams -Identity user@contoso.com
Note -Users that have been provisioned with Phone System and Calling Plans licenses for use with Skype for Business Online, and configured with the default global Teams interop policy, will have the Calls tab enabled in Teams and can place outbound PSTN calls from Teams without administrators having to take any administrative action.
More details: Configuring Calling Plans in Microsoft Teams
Related Posts:

Sr. Cloud Solution Architect at Microsoft, I’m passionate about helping customers succeed by building secure, scalable, and innovative cloud solutions – with a strong focus on AI, DevOps practices, and end-to-end security. With a proven track record in the IT and services industry, I serve as a trusted advisor, partnering closely with organizations to guide them through digital transformation and maximize the value of their cloud investments. My role combines technical leadership with project ownership – from designing modern architectures to leading cross-functional implementations that drive real business outcomes. I also manage and empower strategic partners, working hand-in-hand with them to ensure project success and deliver measurable business impact for customers.