Topology Builder is used to create, adjust, and publish your topology.
Topology Builder also validates your topology before you begin server installations.
When you install Skype for Business Server 2015 on individual servers, the servers read the published topology as part of the installation process, and the installation program deploys the server as directed in the topology.
When you publish the topology, Skype for Business Server 2015 places the topology in the Central Management Database, which is created at this stage if it does not already exist. Then, when you install Skype for Business Server on each server in your deployment, the server reads the topology from the Central Management database and installs a replica copy of the Central Management Database into a new local SQL Server Instance.
Whether you use the Planning tool or Topology Builder to define the topology, you are required to publish the topology by using Topology Builder before you install Skype for Business Server 2015 on servers.
Using Topology Builder to plan and publish a topology is a mandatory step. You cannot bypass Topology Builder and install Skype for Business Server 2015 individually on the servers in your deployment.
This topology builder guide is a basic step by step guide for creating a new topology for Skype for business 15
The following are the high-level steps to publish your topology by using Topology Builder:
1. Open the topology builder tool
- Lunch a new instance
- Select New topology

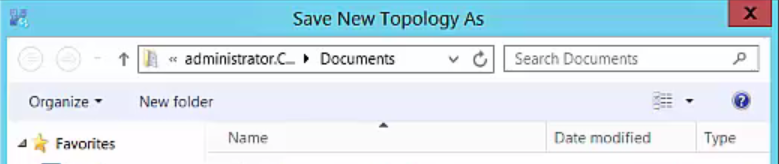
2. Save the file
3. Add the sip domain
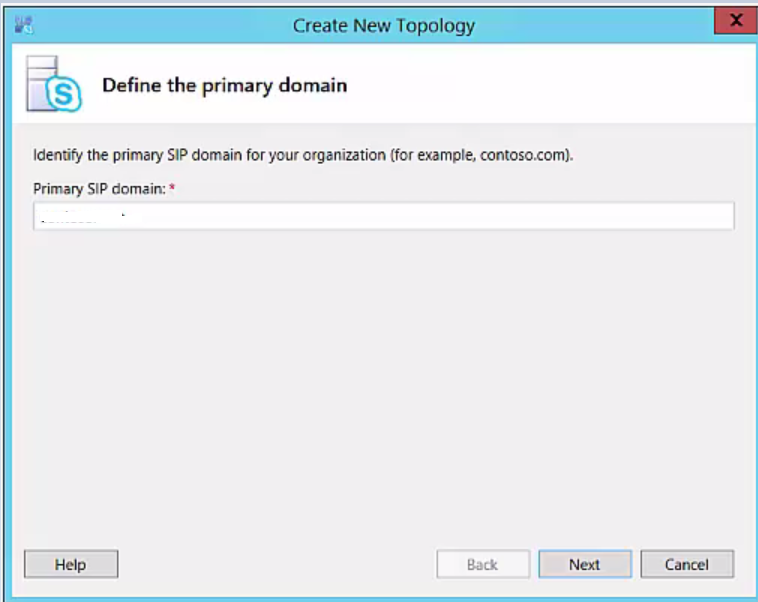
- If you want to support any additional SIP domains you can add them (you can add them later)
4. Define the first site – this is the actual name of the central site in the topology builder itself

- Specify the site details if you desire
5. Create you frontend pool

6. What type of pool would you like to create
- Choose the pool you need for your environment and give it a name

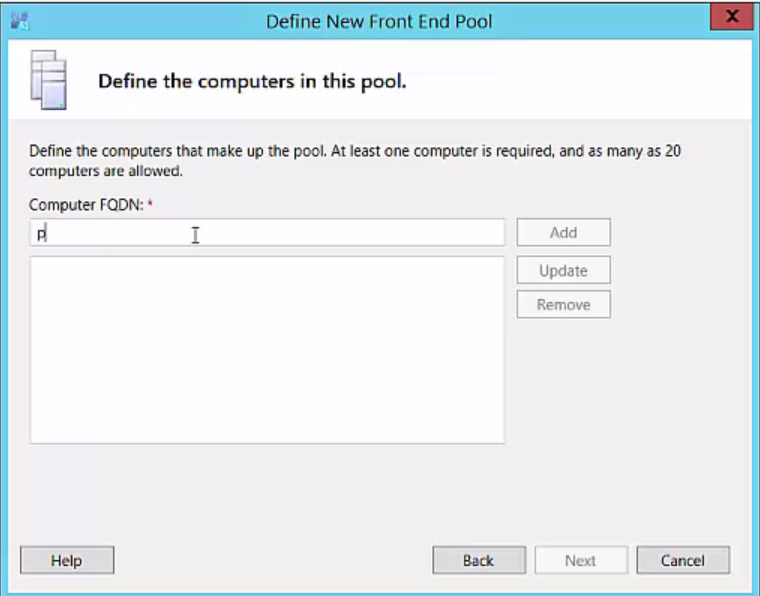
7. Add the computers that will be part of this pool
8. If there any roles you would like to collocate

9. choose whether if not you want to use an edge

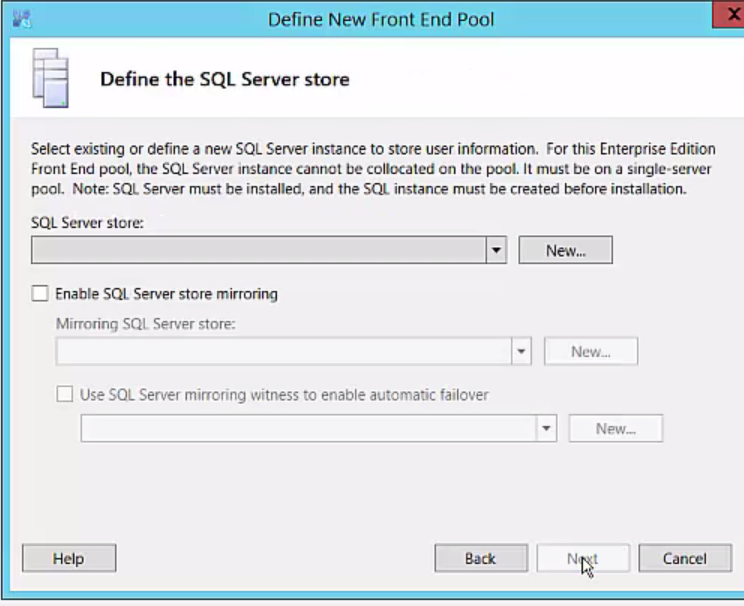
10. Define a SQL store

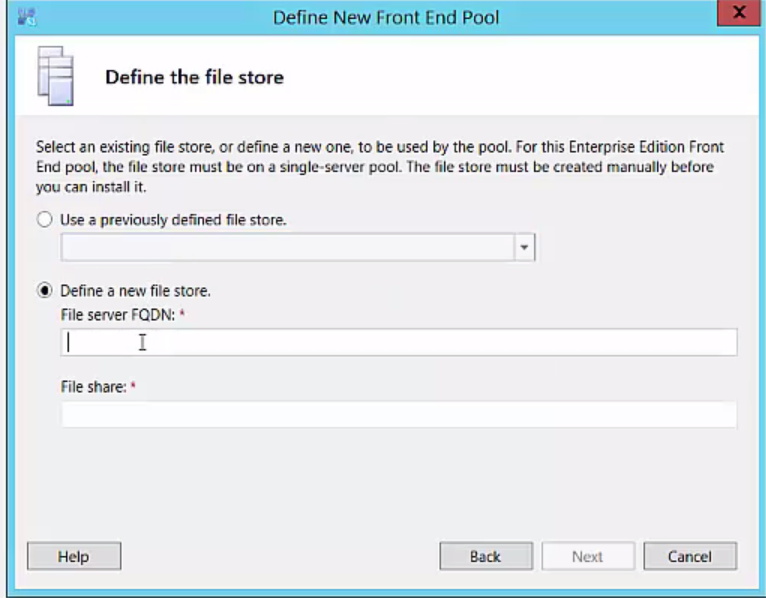
11. Define a file store – define a new file store for an existing share
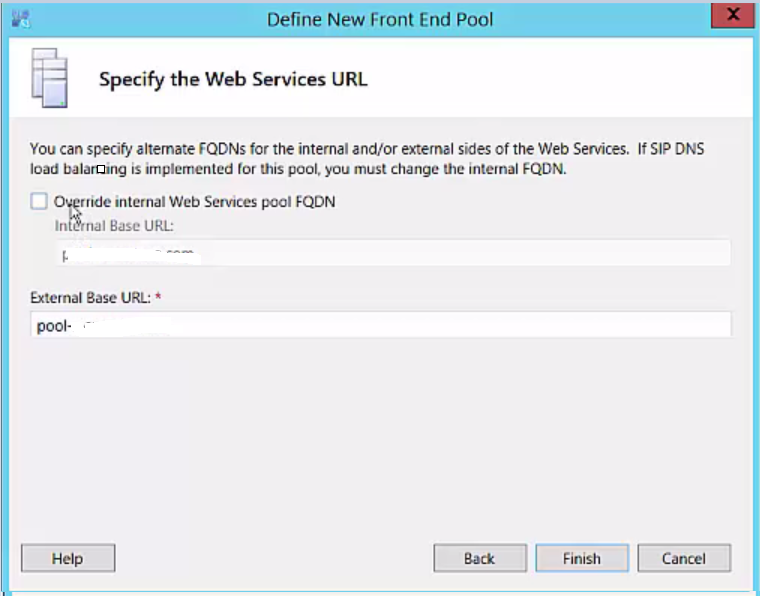
12. Specify the web services URL
13. Click FINISH

14. Publish The topology – this will publish the configuration in to the central management store

Good luck! ![]()

Sr. Cloud Solution Architect at Microsoft, I’m passionate about helping customers succeed by building secure, scalable, and innovative cloud solutions – with a strong focus on AI, DevOps practices, and end-to-end security. With a proven track record in the IT and services industry, I serve as a trusted advisor, partnering closely with organizations to guide them through digital transformation and maximize the value of their cloud investments. My role combines technical leadership with project ownership – from designing modern architectures to leading cross-functional implementations that drive real business outcomes. I also manage and empower strategic partners, working hand-in-hand with them to ensure project success and deliver measurable business impact for customers.