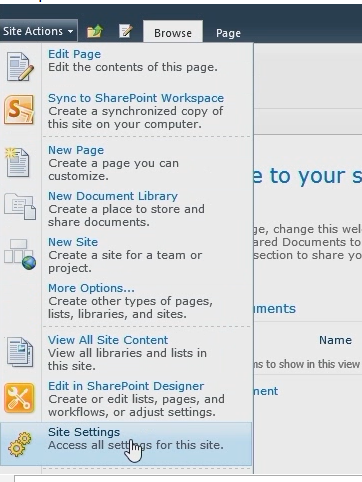
Category Archives: Office365 Proplus

Office365 – Enable or disable IMAP, POP, OWA, MAPI, or Exchange ActiveSync for a mailbox

Enable or disable IMAP, POP, OWA, MAPI, or Exchange ActiveSync for a mailbox in Exchange Server in office365

1. Connect to office365 PowerShell  –

https://www.itblog.co.il/how-to-connect-remote-powershell-to-the-office365s-cloud-based-organization/

2. To see the current state for the mailbox – type : Get-CASMailbox -Identity “Mailbox identity”

(Where mailbox identity is the mailbox name)

clip_image002

3. To Disable one of the services type:

Set-CASMailbox -Identity idit -OWAEnabled $False

clip_image004

To enable on of the services type

Set-CASMailbox -Identity idit -OWAEnabled $True

image

To enable\disable service for all mailboxes type:

Get-CASMailbox |Set-CASMailbox -OWAEnabled $False

image

Check:

image

Enable-MSOnlinePasswordSync failed. Error: The pipeline has been stopped, the service is not operational

I ran into this error While installing Dirsync on a DC server

The error shown “The Server is not operational”
Event log: “Enable-MSOnlinePasswordSync failed. Error: The pipeline has been stopped.”

image

The solution was simply to log off and log on to the DC server.


Good luck !

Office 365 – Assigning Volume license to existing office365 tenant

In order to import an Microsoft volume license to Office365 tenant , take the following steps :


1. Go to – http://office.microsoft.com/setup365

2. under "Already an Office 365 customer?" click "Sign in"

image

Enter your Office 365 account

image

Enter your product key (from your account on Microsoft Volume Licensing Service Center)

image

Good Luck!

Failed to Add a Subdomain to Office 365

When you try to add a sub domain to office365 via the Office365 portal  , you get this error:

Can’t add domain
“Sub.Mydomain.com is a subdomain of a domain which was added by using the Microsoft Online Services Module for Windows PowerShell.
You must also use this tool to add Sub.Mydomain.com to Microsoft Online Services.”

image

Two thing you need to do in order to add a subdomain

1. add the domain using the Windows Azure Active Directory PowerShell

2. Do it on your ADFS server or you will get this message :

“Failed to connect to Active Directory Federation Services 2.0 on the local machine”

Add a sub domain using Azure Active Directory PowerShell:

  • Connect to Windows Azure Active Directory (Windows Azure AD) by using Windows PowerShell on your ADFS server
  • Type: Connect-MsolService
  • Enter your Office365 administrator credentials

image

  • Type: New-MsolFederatedDomain –DomainName “Your sub domain”

Once the command  will issued you receive this message “Successfully added ” Your sub domain”


Good luck Smile

Install dirsync with password Sync

Prerequisites

  1. Your Azure Active Directory tenant must be enabled for Directory Synchronization before the tenant can be enabled for Password Synchronization.
  2. The Server OS must be windows server 2008 R2 or higher
  3. Install Microsoft .NET 3.5 + Microsoft .NET Framework 4 on the Dirsync server
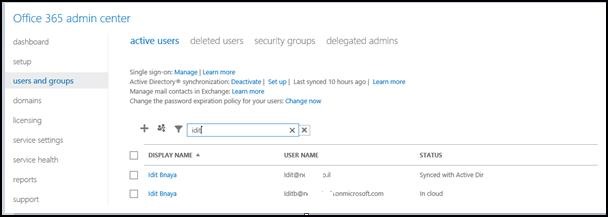
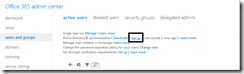
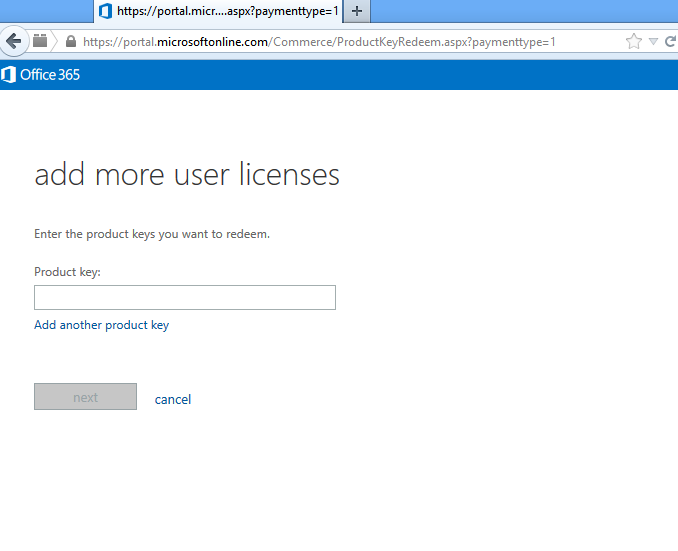
  4. Download Dirsync from the portal :Under – Users and groups –> Set up
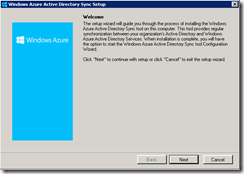
image

image

Install Dirsync :

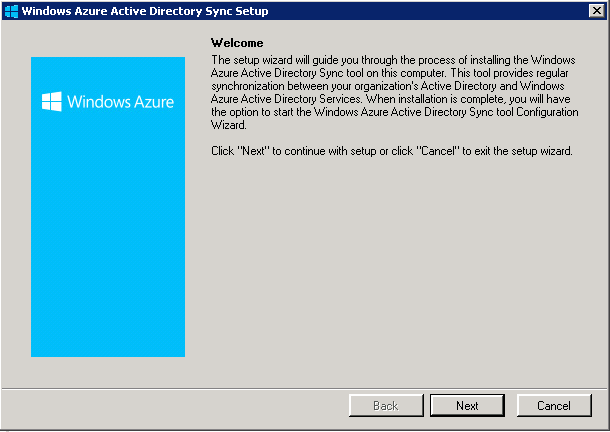
1. Run the Dirsync.exe application you downloaded

Click Next

image

2. Accept the License Terms

image

3. choose your installation path

image

4. It takes 10 minute or longer to complete

image

5. Click Next

image

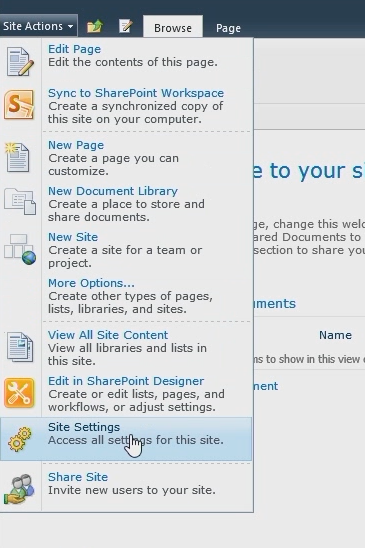
6. choose to run the configuration wizard

image


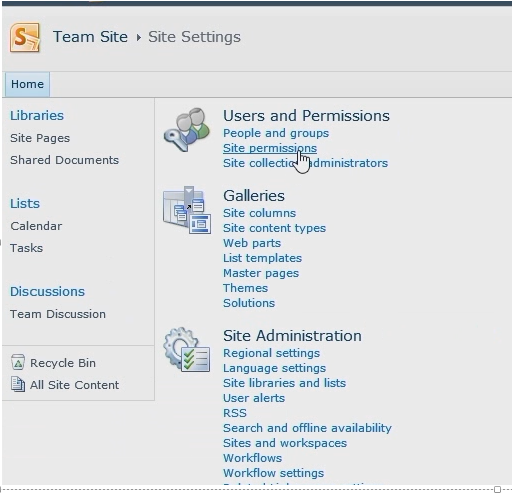
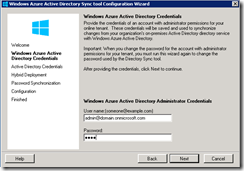
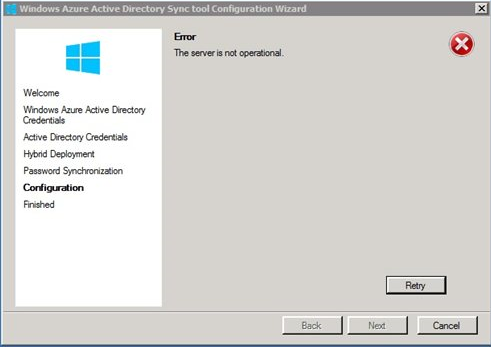
Configure Dirsync to work with you Office365 Tenant

1. Click Next

image

2. Type your Office365 tenant  administrator

image

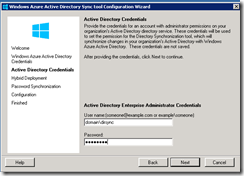
3. Type an enterprise admins user from your local AD

image

4. if your deployment is in an hybrid environment click – Enable Hybrid Deployment

image

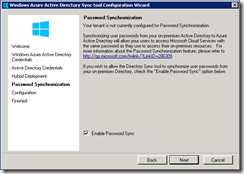
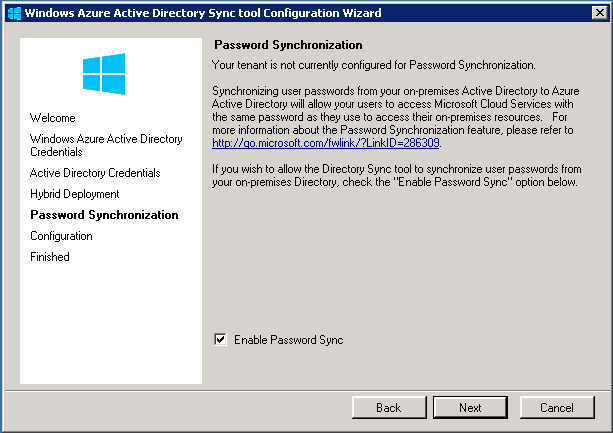
5. Enable Password Sync

image

image

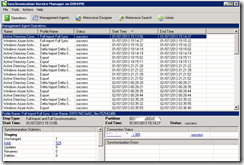
You can check the synchronization status with the miisclient.exe tool :

C:\Program Files\Windows Azure Active Directory Sync\SYNCBUS\Synchronization Service\UIShell\Miisclient.exe

  • Your account needs to be in the MIISAdmins local group in order to access this tool.

image

You can monitor the progress of Password Sync through the event log of the machine that is running the Directory Sync tool.

Determining the Password Sync status

You can determine which users have successfully had their passwords synchronized by reviewing the events that match the following criteria:

Source : Directory Synchronization

Event ID :656 , 657

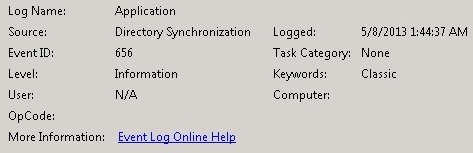
The events with the Event ID 656 provide a report of processed password change requests:

clip_image001

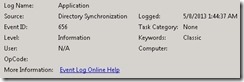
The corresponding events with the ID 657 provide the result for these requests:

clip_image001[4]

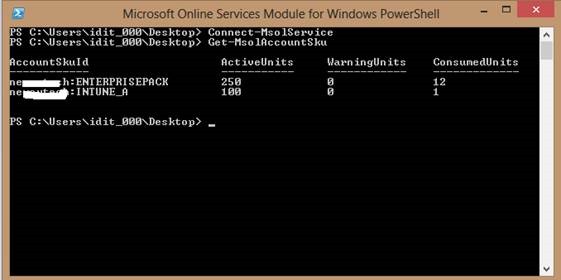
In the events, the affected objects are identified by their anchor and the DN value. The anchor value corresponds to the ImmutableId value that is returned for a user by the Get-MsoUser cmdlet.

In addition to the object identifiers, Event ID 656 provides the date the user’s password was changed in the on-premises Active Directory::

clip_image002

Event ID 657 has a Result field in addition to the source object identifiers to indicate the status of synchronization for that user object.

A successfully synchronized password is in an event with the Event ID 657 indicated by a value of Success for the Result attribute. When a password synchronization attempt failed, the value of the Result attribute is Failure:

clip_image003

Disabling Password Sync

You disable Password Sync by re-running the Directory Sync tool Configuration Wizard.

When prompted by the Wizard, de-select the “Enable Password Synchronization” checkbox.

Note

This process will trigger a full synchronization. Full synchronization cycles generally take longer than other sync cycles to complete.

After running the Configuration Wizard, your tenant will no longer be synchronizing passwords.

New password changes will not synchronize to the cloud.
Users that previously had their passwords synchronized will be able to continue logging in with those passwords until they manually change their passwords in the cloud
.


Good luck Smile

Office365 – Mailbox move completed with warning

[AMSPRD0510CA019] Post-move cleanup failed. The operation will try again in 30 seconds (5/6).

[AMSPRD0510CA019] Target mailbox ‘User name’ was updated on domain controller ‘AMSPRD0510DC006.eurprd05.prod.outlook.com’.

[AMSPRD0510CA019] Unable to update Active Directory information for the source mailbox at the end of the move. Error: UpdateMovedMailboxPermanentException.

[AMSPRD0510CA019] Waiting for mailbox changes to replicate.

[AMSPRD0510CA019] Request is complete.


I got this warning when I moved an Exchange 2003 mailbox to the cloud.


In the last step of the move, the Onpremise mailbox should be converted into a mail user.

Attributes and target address should be pointing to the cloud.

In this case, it seems like, the on-premise mailbox was not getting converted into a remote mailbox and the attributes need to change manually.


Before changing anything, check that you still see the old mailbox, if so backup all the x500 address.


From Adsiedit – properties on the AD User:


First clear the following attributes


1. homemdb

2. homemta

3. msExchHomeServerName

4. msExchPoliciesExcluded


Now add the following:


1. msExchRemoteRecipientType="4"

2. msExchRecipientDisplayType="-2147483642

3. msExchRecipientTypeDetails="2147483648"

4. targetaddress: SMTP:alias@tenant.mail.onmicrosoft.com


Add x500 address you backed up if they don’t exists


Now Sync AD using Dirsync


That’s worked for me.


Good luck J

Office 365 – Manage licenses – ADD\Remove

1. Assign License Using the office365 portal · From the office365 Portal · Connect to – Office365 Portal with the right permissions (Or global administrator or User management administrator) · In the left section Go to the Users and Groups · Search for the user using the Magnifying glass clip_image002 · Press on the user · In the Licenses page – Check the relevant license

clip_image004

· If you did not provide the user location you will be redirected to the settings page clip_image006 ·Add the User location __________________________________________________________________________________________________ 2. Assign License to individual users Using Microsoft Online Services Module for Windows PowerShell

  • Connect to “Microsoft Online Services Module for Windows PowerShell

*In order to do that you will need to download and install this PowerShell , you can find the download in Here

  Alternatively, you can load the cmdlets manually by typing “import-module MSOnline” at the Windows PowerShell command prompt.

  • Type : Connect-msolservice
  • Enter the credentials of a user with the appropriate permissions (Or global administrator or User management administrator )
  • Get the name of the license Get-MsolAccountSku
clip_image008


  • Now you need to add the location for the user you whish to assign license to  (In my case the location is IL):

Get-MsolUser -UserPrincipalName idit@Domain.com |Set-MsolUser -UsageLocation “IL”

  • The next step will be to assign the license :

Get-MsolUser -UserPrincipalName idit@Domain.com | Set-MsolUserLicense -AddLicenses Domain:ENTERPRISEPACK

clip_image010

___________________________________________________________________________________________________________________________________________ 3. Assign license to multiple users with a powershell script Sometimes you need to assign licenses to multiple users , in this case you can do it with a very simple PowerShell script This script will :

· import the users from a csv file (which you create) ,

· provide the location

· assign the license

So the first thing you need to do is to add the Users UPN  of the users to a Csv file In the header of the table write– display Foe example : image Copy the following Lines to a Text file an save it as .SP1 $licenses = Import-Csv c:\temp\users.csv $licenses | ForEach-Object {get-msoluser  -MaxResults 20 -SearchString $_.display | Set-MsolUser -UsageLocation “IL”} $licenses | ForEach-Object {get-msoluser  -MaxResults 20 -SearchString $_.display | Set-MsolUserLicense –AddLicenses  Domain:ENTERPRISEPACK} (Don’t forget to run the script with the Microsoft Online Services Module for Windows PowerShell) Remove license to multiple users with a powershell script ___________________________________________________________________________________________________________________________________________ Create the csv file for the users you want to delete the license . again , write display in the header of the table on the Microsoft Online Services Module for Windows PowerShell type: 1. $licenses = Import-Csv d:\users1.csv 2. $licenses | ForEach-Object {get-msoluser – MaxResults 1000 -SearchString $_.display | Set-MsolUserLicense –RemovedLicenses Domain:ENTERPRISEPACK}     ________________________________________________________________________________________________________ Add license to all users without license

Import-Module MSOnline Connect-MsolService Get-MsolUser -all | where {-not $_.islicensed} |ForEach-Object{

Set-MsolUser -UserPrincipalName $_.UserPrincipalName -UsageLocation “IL”

Set-MsolUserLicense -UserPrincipalName $_.UserPrincipalName -AddLicenses Domain:ENTERPRISEPACK

}

________________________________________________________________________________________

Remove specific license

Connect-MsolService

$license= “Domain:ENTERPRISEPACK”

get-MsolUser -all | Where-Object {$_.Licenses.AccountSkuID -eq $license}|ForEach-Object{

Set-MsolUserLicense –UserPrincipalName $_.UserPrincipalName –RemoveLicenses “$license”

Write-host $_.UserPrincipalName

}

__________________________________________________

Export list of all users with license:

Get-MSOLUser -All | select userprincipalname,islicensed,{$_.Licenses.AccountSkuId}| Export-CSV D:\userlist3.csv -NoTypeInformation


q         Good Luck  Smile

Dirsync – How to manually sync AD objects to the cloud using Dirsync PowerShell