This guide provide the steps to take in order to create new Database in Exchange using Netapp storage and snap drive
In this case , I’m using Netapp 2020
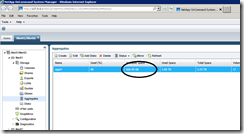
1. Check Space Availability
Available storage in NetApp filers is contained in aggregates.
– In NetApp onCommand System Manager select the aggregate section and check for available space:
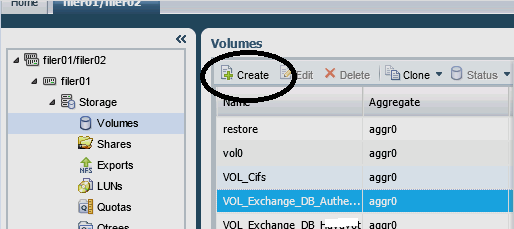
2.Create Volume
Now that you are sure that you have Enough disk space available you can create a new volume
-In NetApp onCommand System Manager select the Volume section and then click on "Create"

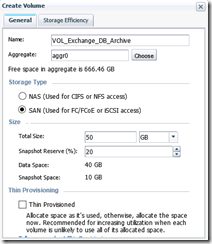
You’re now presented with the "Create Volume window"
Name: provide the name for the volume
Aggregate: choose the aggregate
Storage Type: SAN
Total size: type the size of the DB
check the "Thin provisioned" check box if you want.
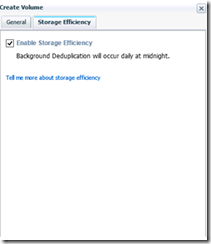
Navigate to Storage Efficiency
Check the "Enable storage Efficiency" check box - this will let you control data growth to increase storage utilization, regain capacity, and improve IT performance
*Do the same for the log DB
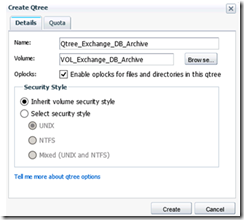
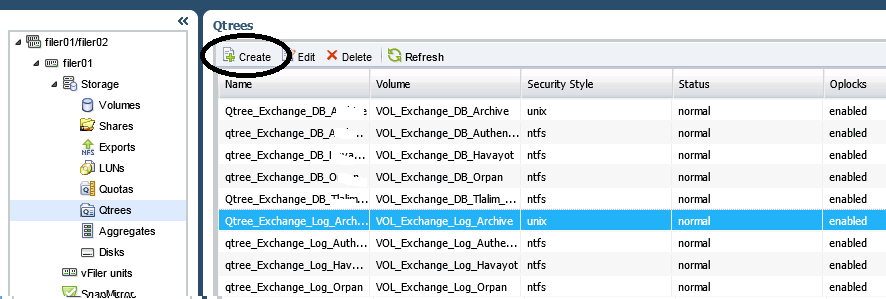
3. Create Qtree
In NetApp onCommand System Manager select the Qtrees section and then click on "Create"
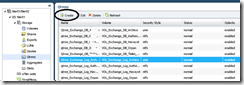
You’re now presented with the "Create Qtree window"
Name: provide the name for the Qtree
Volume: Select the volume you created in step 2
oplocks: By default its enabled – I usually keep it that way –This options means that A client can work with a file (read or write it) without regularly reminding the server that it needs access to that file, which improves performance by reducing network traffic.
Check Inherit Volume security style
Click Create.
*Do the same for the log DB
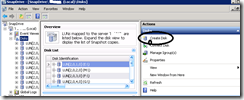
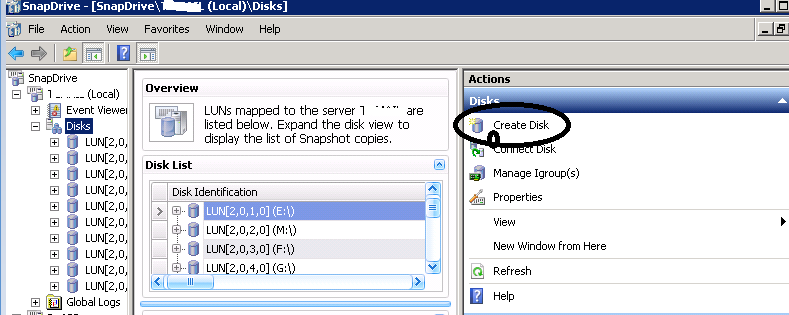
4. Create LUN with snap Drive
Connect to Exchange server and open Snap Drive
Navigate to "Disks" and click on Create disk
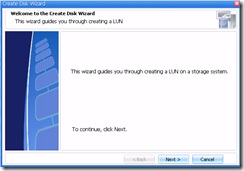
This will start the “Create disk Wizard”, and you can click ‘Next’ on the welcome page
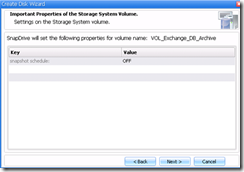
Select the new Volume-Qtree you created
provide the name for the New Lun
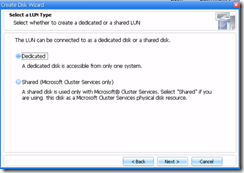
Click Next

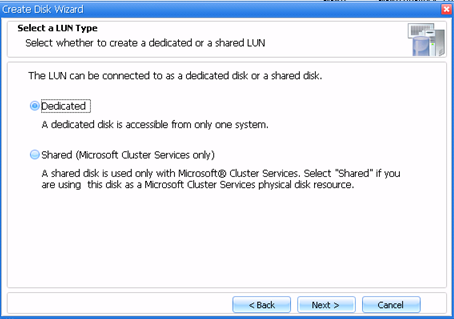
Select – Dedicated
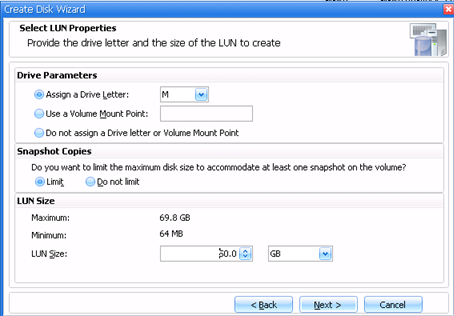
Assign a Drive letter and the LUN size
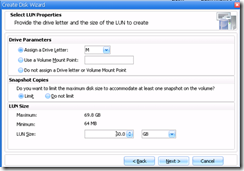
Click next
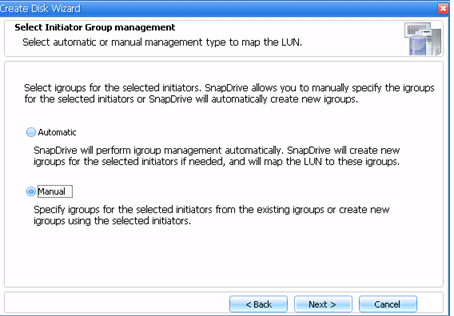
Select the initiator , in my case its VMware ESXI
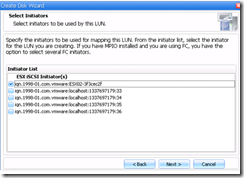
select Manual

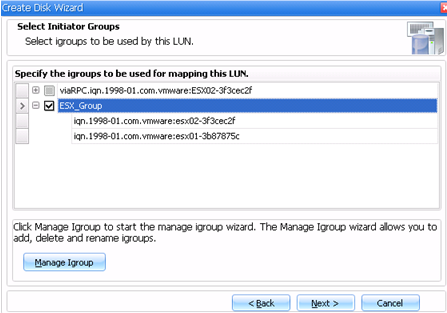
Select the initiator group
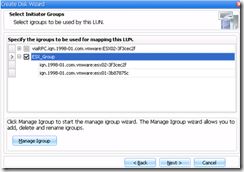
Select Store with virtual machine
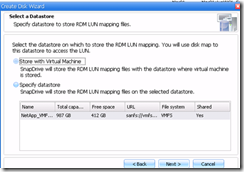
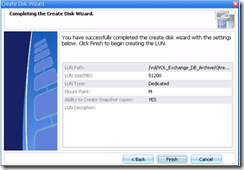
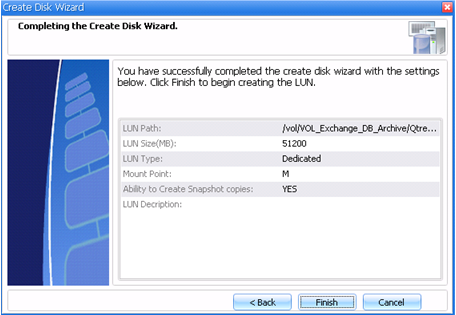
Finish the wizard
*Do the same for the Log DB
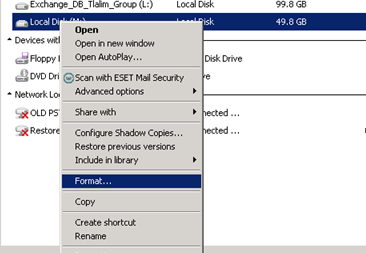
5. Format the new Drive
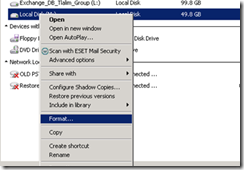
On the Exchange server Navigate to – "My computer"
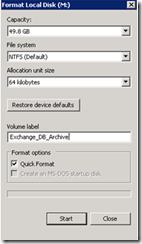
Right click on the new Drive and click on Format
Under Allocation Unit size choose – 64 kilobytes
Check – Quick format
Start
*Do the same for the log DB
The next step is to create the DB in exchange.
Good luck !


![clip_image001[4]](https://www.itblog.co.il/wp-content/uploads/2013/07/clip_image0014.jpg)